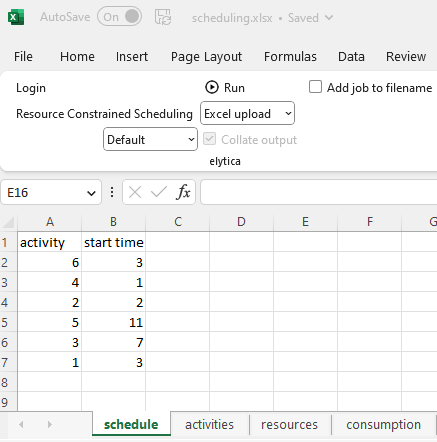
Before we jump into the details of how you can access the elytica optimization services directly from Excel, the following steps are required:
Step 1: Download and install the elytica add-in for Excel
Download the elytica add-in from here. Once you have installed it, you should see the elytica panel under the Add-ins menu:

Logging in to the elytica servide requires an API access key. This is explained in the next step.
Step 2: Generate an access token with elytica services
Up to this point, you have been capturing and running your optimization models from compute.elytica.com.
As a subscribed user, you also have access to the elytica service website, service.elytica.com. After logging in, you should see something like this with your name displayed in the top right-hand corner.
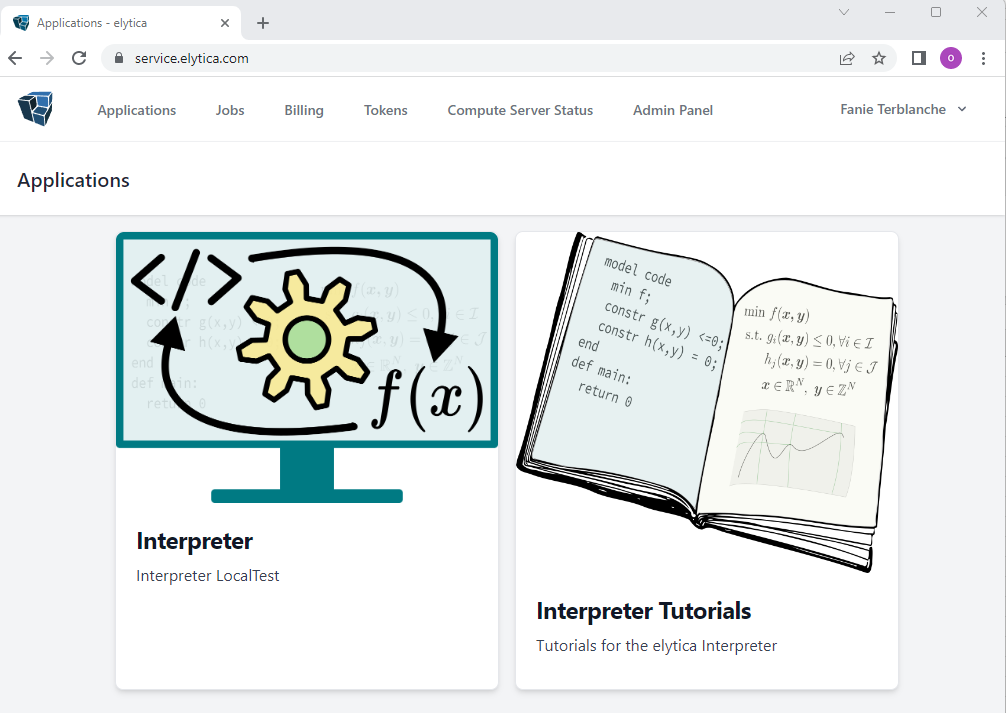
By clicking on the Token menu option, the following will appear:
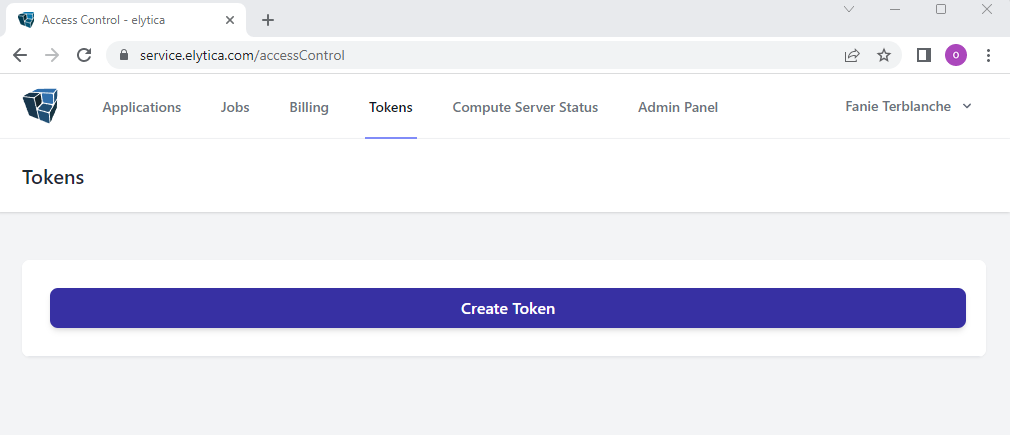
On clicking the Create Token option, you will be provided with the following form where you can enter a description of the token you want to create:
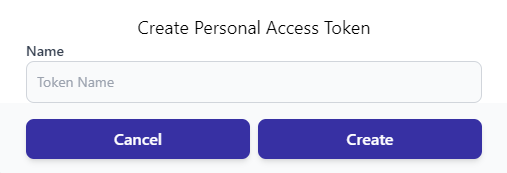
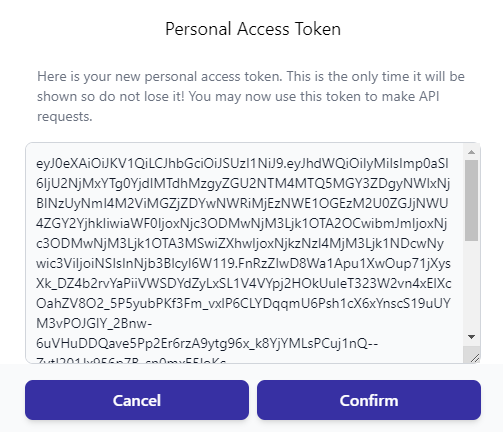
By clicking on “Create”, you will be provided with an access token which you may use for the Excel add-in. Tip: copy the token and store it in a safe place – you will need it every time you want to make use of the add-in.
Step 3: Populate Excel with your problem data and solve the model
Since you already have a model available on the elytica platform for solving the Resource Constrained Scheduling Problem (Tutorial 6), and you have the data available for this problem in scheduling.xlsx, let us use this to demonstrate the use of the elytica add-in.
But before you can get started, you will need to update the main Python function of the Resource Constrained Scheduling project (Tutorial 6) on compute.elytica.com, to allow the results to be written to Excel:
def main():

  elytica.init_model("rcsp")
  elytica.run_model("rcsp")

  I = elytica.get_model_set("rcsp", "I")
  T = elytica.get_model_set("rcsp", "T")

  result = [["activity","start time"]]
  for i in I:
    for t in T:
      vname = "x"+str(i)+","+str(t)
      val = elytica.get_variable_value("rcsp", vname)
      if val > 0 :
        print("activity ", i, " start at time ", t )
        row = []
        row.append( i )
        row.append( t )
        result.append( row )

  excel={'excel': {'schedule': result }}
  elytica.write_results(json.dumps(excel))

  return 0
After downloading scheduling.xlsx and opening it up, log in to elytica with the access token that you created in Step 2.

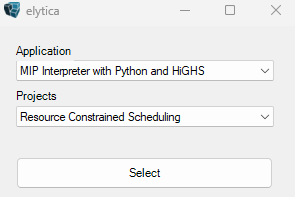
Select the application and the project which contains the model you want to use:
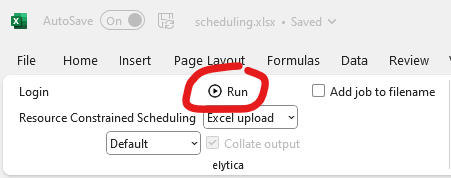
Solving the Resource Constrained Scheduling problem is now as easy as clicking on the run button:
On completion of the optimization run, a new sheet labelled “schedule” should now be visible in Excel, showing the start time of each activity.
